You have a sketch. You want to turn it into an adult toy brand. This is where many Shopify and DTC founders spend too early. They jump to molds, lock a high MOQ, then find the first sample feels wrong.
You do not need a mold to learn that.
A sketch-to-3D prototype path is the cheapest way to test shape, size, and grip before tooling. This guide is for small teams of one to five people. You have a brand idea, a limited budget, and a fear of wasting the first development spend. Read this as a practical path, not a theory class.
Introduction
Why Prototyping Matters for Adult Toy Startups
Adult toys live on the body. Look is not enough. Feel, weight, reach, and comfort decide if a buyer keeps the product.
A startup also lives on cash. One wrong mold can cost thousands. A high first order can trap money in stock you cannot sell. That is the fear most new founders name first: “What if I spend the first budget on the wrong product?”
A prototype answers that fear cheaply. You can hold the shape before you pay for steel. You can check size with real hands. You can show a physical model to a small test group. You can give a factory a file, not a vague idea. You can stop a bad direction after a few hundred dollars, not after a full tooling run.
If you sell on Shopify, Amazon, or a crowdfunding page, a prototype also helps you pitch. People trust an object they can see.
Benefits of Starting with Sketch to 3D Prototypes
Start with a sketch. Move to a simple 3D model. Print or sculpt a first body. Test. Change. Repeat.
This path gives you five benefits:
- Low cash risk. You can test two or three directions in the same month.
- Fast learning. A new shape can exist in days, not months.
- Better factory briefs. A 3D file plus a physical sample is easier to quote than “something like this, but slimmer.”
- Better MOQ control later. A proven shape is easier to run in a small first batch.
- Calmer decisions. You stop arguing about a drawing and talk about a real object.
The rule is simple. Understand the user first. Do not rush the mold. Use a cheap prototype to prove the direction. Then talk timeline, budget, and first order size with a manufacturer who already works in adult products.
Affordable Prototype Modeling Methods
You do not need a design studio on day one. Use the cheapest method that answers your current question.
Is the outline right? Use clay.
Are the dimensions right? Use CAD.
Does it flex the way you want? Print in TPU.
Do you need a clean factory file? Hire a CAD freelancer.
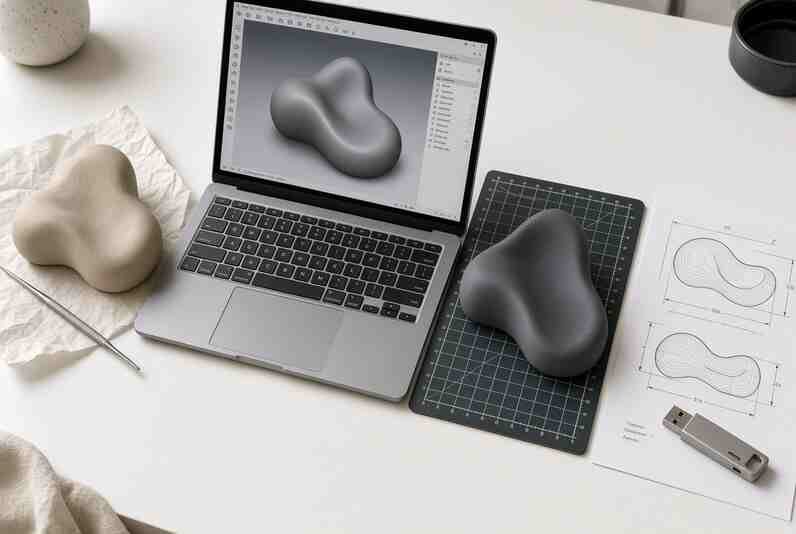
Method 1: Manual Sculpting with Air-Dry Clay
Air-dry clay is the lowest-cost first step. A small pack often costs $10–$20. You need no kiln and no software.
Use clay when you only have a rough sketch. Sculpt the outer form. Check length, girth, flare, and handle. Sit with it in your hand. See if the curve feels natural.
Keep walls a bit thick so the piece does not crack. Mark key sizes with a ruler. Photograph every angle before it dries.
Clay will not feel like silicone. That is fine. You are testing form, not skin feel. When it dries, measure it and rebuild it in CAD. You now have data, and you did not pay for a mold to get it.
Method 2: Using Open-Source CAD Tools
Once the clay form is close, move to CAD. A digital model lets you change one size without starting over.
Free tools that work for startups:
- Tinkercad for first shapes. Easy, browser-based.
- FreeCAD when you need exact mm sizes.
- Blender for smooth organic curves and later renders.
- OpenSCAD if you like typed parameters such as “length = 140 mm.”
Start in Tinkercad if you have never used CAD. Move to FreeCAD or Blender when the shape gets more organic.
Export STL for printing. Export STEP when you talk to a factory. STEP is cleaner for manufacturing than a mesh file.
You do not need to master every tool. Learn enough to describe the product in numbers: length, insertable length, diameter at three points, base width, and target weight. That list alone will save you weeks.
Method 3: Budget-Friendly 3D Printing with PLA or TPU
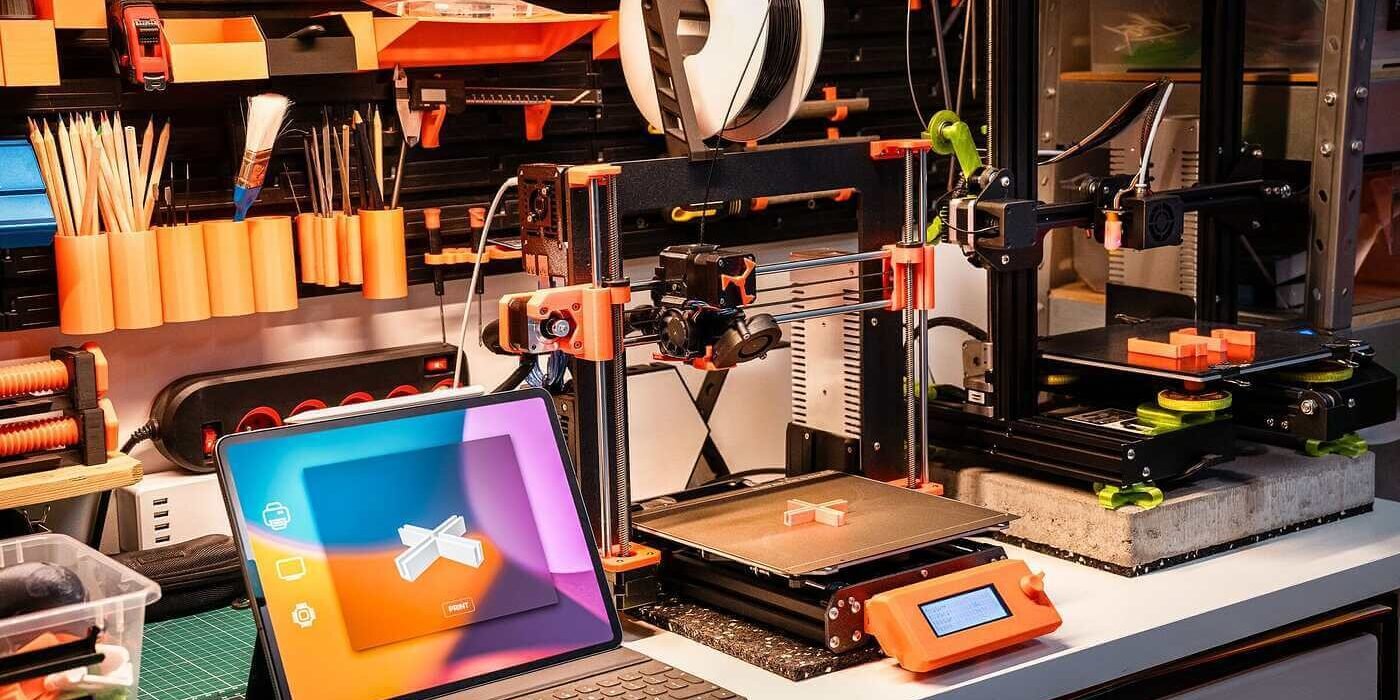
A desktop FDM printer is enough for early prototypes. You are making a study model, not a finished body-safe product.
Use PLA for rigid size and silhouette checks. It is cheap and easy to print. Use TPU when flex matters. Shore 95A feels like firm rubber. Shore 85A is softer.
Typical starting settings for TPU 95A: nozzle 220–235°C, bed 40–60°C, speed 15–30 mm/s, little or no retraction. Dry the filament first.
Do not use a printed prototype internally. PLA and TPU are not body-safe for that use. Treat prints as form and grip models only.
A single print often costs $3–$15 in material. If you do not own a printer, use a makerspace or an online print service. Print PLA first. Add TPU only when flex is the question.
Method 4: Leveraging CAD Freelancers on Budget Platforms (e.g., Fiverr)
You can skip the learning curve and send the sketch to a freelancer.
On Fiverr, a simple product model often starts around $25–$80. A cleaner, manufacturing-ready model is often $80–$250. Delivery is commonly two to six days.
Send photos of the sketch, target sizes in mm, what must flex, and the files you need: STL plus STEP. Say this is an adult wellness product so the freelancer is comfortable with the category. Ask for two revision rounds in the price.
Check for real product work, not only game art. Pay for a STEP file. That is what a factory can edit. An STL alone is only a snapshot.
Validating Your Adult Toy Design Cheaply and Efficiently
A prototype is only useful if you test it. You do not need a lab. You need a plan and privacy.
Ergonomic Testing: DIY Validation Methods to Reduce Costs
Use the same test every time so your notes can be compared.
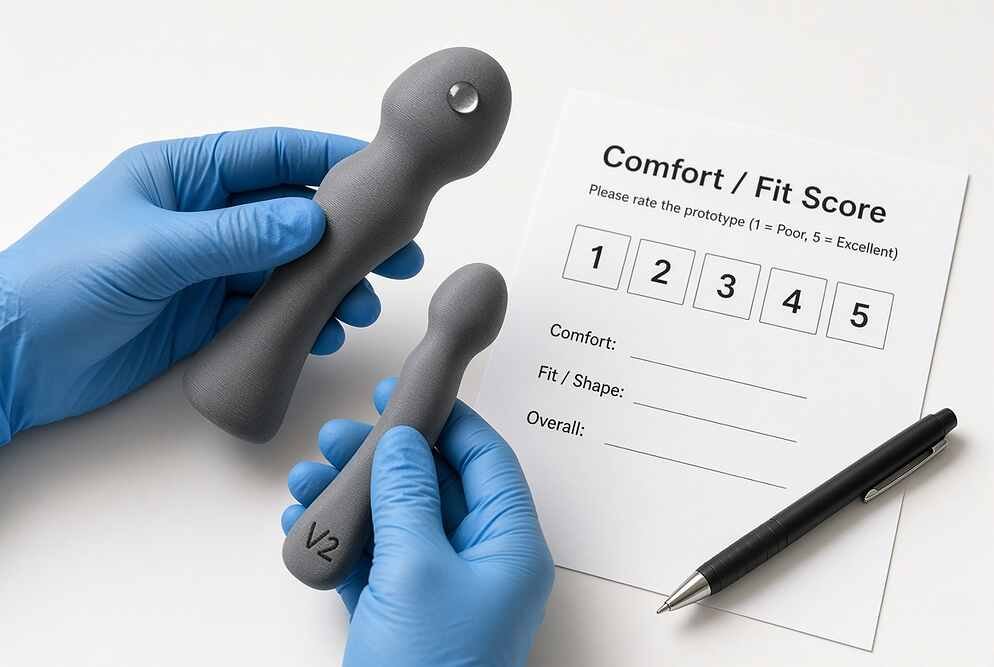
Check grip, reach, edge comfort, weight, flex, and one-hand use. Print two sizes, not one. A 10% size change is often the whole product.
Wear a nitrile glove and add a drop of water-based lubricant on the exterior only. This mimics slip without using the print internally. Hold the model for a few minutes in the real pose. Ask one trusted person to repeat the test without hearing your pitch first.
Score each point from 1 to 5. Write one sentence on what to change. Mark the version on the base. Startups lose track after version three.
This loop costs little. It prevents the most common first-sample complaint: it looks right in the photo, but feels wrong in the hand.
Remote Panels: Partnering with Micro Influencers for Feedback
You do not need a big panel. You need five to fifteen honest people in your niche.
Micro influencers and small sexual wellness creators already talk to your buyer. They also understand discretion.
Send an NDA first. Ship in plain packaging. Do not send a raw print for internal use. Send a form model, a render, or a later silicone sample. Give a short form: size, grip, look, who it is for, and what to change first.
A good panel tells you if the idea is for beginners, for couples, or too niche. That answer changes listing copy, color, and packaging. It can also tell you to stop. Stopping is a win when it saves a mold.
Preparing for Manufacturing
When the shape is stable, prepare files a factory can use. Many startups lose time here. They send pretty pictures. The factory needs measurable data.
Low-Budget Photo-Realistic Renders
Renders help Shopify pages, crowdfunding, and factory alignment before the silicone exists.
Cheap options: learn Blender and render for free, or hire a simple product-render gig for about $50–$150. Ask for white-background packshots, one lifestyle scene, and the colorways you may actually produce.
Renders are not proof of feel. Do not skip the physical prototype because the image looks expensive. The render sells. The prototype decides.
Selecting the Best 3D Printing Settings for Silicone-Like Materials
You cannot print platinum silicone on a normal desktop FDM printer. You can get closer to the feel with TPU.
For a firmer study, use TPU 95A and thicker walls. For a softer study, use TPU 85A, fewer walls, and low infill. Print slow, around 20 mm/s. Sand PLA for photos if needed. Do not expect TPU to sand clean.
Printed TPU tells you bend and rebound. It does not tell you body-safe tear strength or long-term hygiene. Those tests belong to the production material. If you need a true soft feel, the next step is a poured silicone sample, not another plastic print.
Streamlining the Transition from Prototype to Production
Hand the factory a pack, not a puzzle.
Include the latest STEP file, an STL for reference, a dimension sheet in mm, target Shore A hardness, target weight, colors, packaging size limit, expected first order range, and notes from your tests.
Ask for a Design for Manufacturing review before anyone cuts a mold. A small CAD change can cut tooling cost.
Agree on the path in writing:
- CAD review
- 3D print or resin sample for shape
- Soft silicone sample
- Small pilot run
- Mass production
Do not skip the silicone sample. Printed models lie about surface and weight.
This is also how you control MOQ. A proven file is easier to run in a small batch. An unproven sketch is what pushes factories toward large first orders.
Ask for a timeline and budget range up front. Many startups hear: CAD and print sample in days to two weeks, silicone sample in about one to three weeks after design freeze, then mold and first bulk after that.
Advanced Trends in Adult Toy Prototyping
The cheap path is getting faster. You can use new tools without a big team.
AI-Assisted Prototyping for Faster Iterations
AI will not replace a factory drawing. It can get you to a first 3D body sooner.
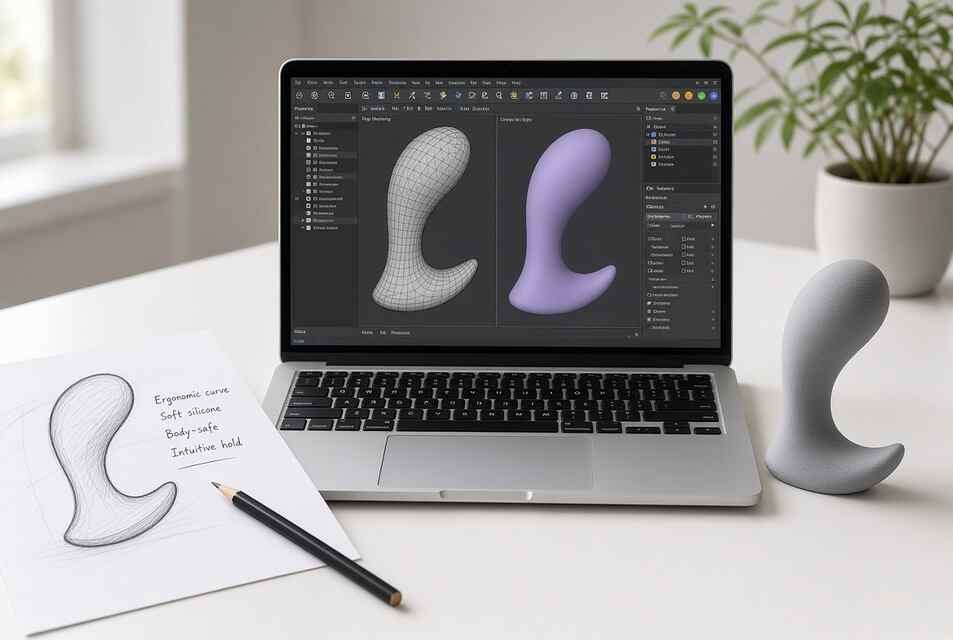
You can turn a sketch photo into a rough mesh, generate simple parts from text, and test color options with renders. Treat AI output as a draft. Repair the mesh. Rebuild key dimensions in real CAD. Factories still want clean solids.
Keep unique files private. Do not upload a first-of-kind design to a public tool if being first matters
Sustainability: Using Recycled Filaments in 3D Printing
Prototype waste adds up when you print ten versions. Recycled PLA and recycled PETG are easy swaps for study models. They work well for form checks and have almost no change in printer workflow.
Use recycled filament for PLA study models. Use virgin TPU when you need a reliable flex test. Do not claim the finished adult toy is recycled unless the production material or packaging truly is.
Privacy-First Validation Tools for Secure Feedback
Adult products need more privacy than a normal gadget.
Use a one-page NDA before any photo or sample goes out. Collect feedback in a private form. Number samples instead of naming them. Ship in plain packaging. Keep product photos out of group chats.
If you work with a factory, sign a mutual NDA first. Ask how samples are stored and who can see them. A serious adult-product manufacturer already works this way.
How to Find Affordable CAD & 3D Modeling Talent
You can do the first clay and PLA print yourself. You may still want help for a clean production file.
52 Launch for Prototyping Services
52 Launch is a product development studio. They take a napkin sketch or a rough concept through ideation, CAD, and in-house 3D printing. They also sit next to manufacturing support.
This is useful if you want one team from sketch to a physical prototype, and you need a polished model for a pitch. Watch the cost. A full-service studio usually costs more than a Fiverr model plus a local print. Confirm they are comfortable with sexual wellness products before you share files.
You will still need an adult-toy factory for body-safe materials, molds, and a low-MOQ first run.
Best Freelance Platforms for CAD and Adult Toy Design
Match the platform to the job.
- Fiverr for a cheap, defined first model.
- Upwork if you want the same designer across versions.
- Cad Crowd when you need engineering-style CAD, not only a pretty mesh.
- Freelancer.com for tight budgets. Quality varies, so write a precise brief.
Share the sketch and the mm targets. Pay for a small test first. Review the file type, not only the render. Make sure the model belongs to you. Keep one designer for revisions.
The cheapest talent is not the lowest sticker. It is the person who gives you a file a factory can use on the first pass.
FAQ
A:Sculpt it in air-dry clay first, then rebuild it in free CAD and 3D-print a PLA or TPU model. Doing it yourself often costs $20–$80. Hiring a freelancer plus a print service often costs $80–$250. Do not cut a mold until you have held a physical version.
A:Use TPU, not PLA. Start with 95A, 220–235°C nozzle, 40–60°C bed, and 15–30 mm/s. This is only a feel study, not a body-safe toy.
A:Test form models in private with an NDA, or with a small group of trusted micro creators. Do not use raw 3D prints internally. Save in-body testing for a platinum-silicone sample.
A:Print two sizes and score grip, reach, edge comfort, weight, and one-hand use from 1 to 5. Test with a glove and external lubricant only. This loop can stay under $100.
A:Yes. Use Tinkercad for first shapes, FreeCAD for exact sizes, and Blender for organic curves. Export STL for printing and STEP for the factory.